Mastering the Art of Matting Techniques
Key Takeaways
- Professional matting requires acid-free, archival materials for long-term preservation
- Mat width should typically be 2-4 inches for standard artwork, with larger pieces requiring proportionally wider mats
- Coastal homes need special consideration for humidity and environmental protection
- Color coordination can make or break your artwork's visual impact in any room
Whether you're preserving a cherished family photograph, showcasing a valuable original artwork, or simply wanting to elevate a favorite print, mastering the art of matting is one of the most transformative skills you can develop as an art lover. Far from being just a decorative border, proper matting serves as both a protective barrier and a visual enhancement that can completely change how your artwork is perceived and preserved.
In my 15 years of renovating homes and styling living spaces, I've seen countless pieces of art either enhanced or diminished by their matting choices. The difference between amateur and professional presentation often comes down to understanding the principles we'll explore in this comprehensive guide.
What is Matting and Why Does It Matter?
Matting, also known as mounting or mat board, is the border material placed between your artwork and the frame. But this simple definition barely scratches the surface of its importance. According to the Library of Congress, proper matting serves three critical functions: preservation, presentation, and protection.

Different matting materials: acid-free, cotton, and textured options for various preservation needs
Understanding Professional Matting Standards
Professional framers follow strict guidelines. Watch this educational video that demonstrates the fundamental techniques and quality standards used in conservation framing:
Step-by-Step Guide: DIY Mat Cutting in 5 Steps
While professional framing is recommended for valuable pieces, understanding the basic process helps you make informed decisions and handle simpler projects at home.

Professional precision: Using specialized tools for perfect mat cutting
Essential Tools You'll Need:
- Mat cutting knife or Logan mat cutter
- Metal straight-edge ruler (at least 24 inches)
- Cutting mat or cardboard surface
- Pencil for light marking
- Cotton gloves for handling
Step 1: Measure Your Artwork
Measure your artwork precisely, then add your desired border width. For a standard 8x10 photo with a 3-inch mat, your outer dimensions will be 14x16 inches.
Step 2: Mark Your Mat Board
Using a pencil, lightly mark both the outer dimensions and the inner window. Professional tip: Make the bottom border slightly larger (about ¼ inch) to prevent the optical illusion of the artwork appearing to slide down.
Step 3: Cut the Window Opening
Always cut from the back of the mat board, creating a beveled edge that angles toward the artwork. This prevents shadows and creates a professional appearance.
Step 4: Test Fit Your Artwork
Before final assembly, ensure your artwork fits properly with about 1/8 inch overlap hidden behind the mat edge.
Step 5: Secure and Assemble
Use archival photo corners or acid-free tape to secure your artwork. Never use regular tape or glue directly on valuable pieces.
Choosing the Right Mat: Materials and Quality Levels
Not all mat boards are created equal. Understanding the different types and their appropriate uses is crucial for both preservation and aesthetic success.
Mat Board Quality Comparison
| Material Type | Cost Range | Lifespan | Best For |
|---|---|---|---|
| Regular Mat Board | $5-15 | 2-5 years | Temporary displays, non-valuable prints |
| Acid-Free Mat Board | $15-35 | 15-25 years | Standard artwork, photographs |
| Museum Cotton Mat | $35-75 | 100+ years | Valuable artwork, archival preservation |
The Classic White Mat
White and off-white mats are timeless for good reason. They work with 90% of artwork and room styles, providing a clean, gallery-worthy appearance that won't compete with your art.
Neutral Tones for Versatility
Cream, beige, and light gray mats offer warmth while maintaining versatility. These work particularly well in coastal homes where bright whites can feel too stark against weathered textures.
Colored Mats for Drama
Navy, deep green, or burgundy mats can add sophistication to vintage prints or botanical illustrations. However, use these sparingly—they work best as accent pieces rather than throughout an entire collection.
Stylistic Pairings from My Experience:
- Botanical prints - Linen-textured mats in soft sage or cream
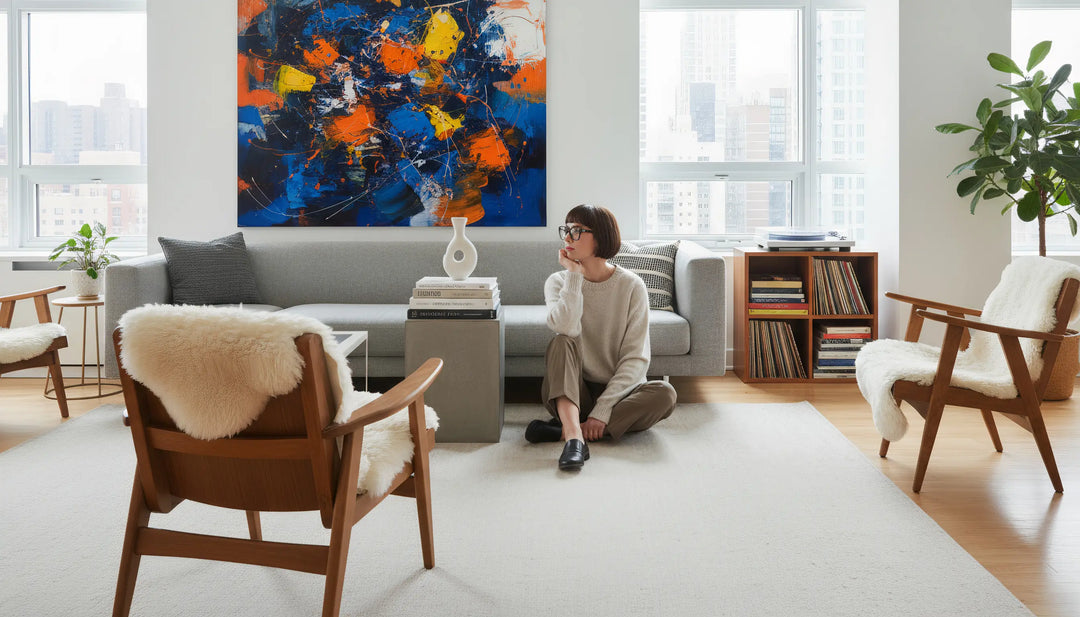
- Abstract art - Clean white mats to let bold colors shine
- Vintage landscapes - Warm cream or antique white mats
- Black and white photography - Pure white or light gray mats
Special Considerations for Coastal Homes
Living near the ocean presents unique challenges for art preservation. After years of styling coastal properties, here are the essential adaptations you need to make:
Humidity Control
Coastal air contains higher moisture levels that can cause mat board to warp and artwork to deteriorate. Use silica gel packets behind frames and consider dehumidifiers in art display areas.
Enhanced Sealing
Coastal frames need additional sealing with acid-free tape around all edges to prevent moisture infiltration. This is especially critical for valuable pieces.
Material Selection
In high-humidity environments, invest in museum-quality cotton mats rather than wood-pulp alternatives, which are more susceptible to warping and deterioration.
Abstract Art and Wide Matting: Creating Breathing Space
Modern and abstract artwork often benefits from generous matting that gives the eye space to process bold colors and complex compositions.

Wide matting provides essential breathing space for bold abstract compositions
Mat Width Guidelines by Art Size:
- Small prints (8x10" or smaller): 2-3 inch mats
- Standard prints (11x14" to 16x20"): 3-4 inch mats
- Large artwork (18x24" and above): 4-6 inch mats
- Statement pieces (30x40" and above): 6-8 inch mats or consider floating frames
Preservation Framing: Museum-Quality Techniques
For truly valuable artwork, understanding conservation-level matting techniques is essential for long-term preservation.
Conservation Matting Essentials
- 100% cotton rag mat board (acid-free, lignin-free)
- UV-filtering glazing (glass or acrylic)
- Acid-free mounting corners (never adhesive tape)
- Sealed backing with moisture barrier
- Climate-controlled environment (68-72°F, 45-55% humidity)
Common Matting Mistakes (And How to Avoid Them)
In my years of working with clients, I've seen these mistakes repeatedly. Learning to avoid them will save you time, money, and heartache.
Top 5 Matting Mistakes:
- Using regular tape or glue: Always use archival mounting methods
- Cutting mats too small: Artwork needs proper breathing space
- Ignoring humidity: Especially critical in coastal and humid climates
- Mismatched proportions: Large artwork with thin mats looks unbalanced
- Choosing trendy colors: Neutral tones have lasting appeal
Professional vs. DIY: When to Call the Experts
While understanding matting techniques is valuable for any art lover, knowing when to DIY and when to seek professional help is equally important.
DIY-Friendly Projects:
- Standard-sized prints and photographs
- Non-valuable artwork for practice
- Temporary or seasonal displays
- Mass-produced prints
Professional-Only Projects:
- Original artwork or valuable pieces
- Large or oversized pieces
- Antique or fragile materials
- Complex multi-mat designs
- Conservation-level preservation needs
Frequently Asked Questions About Matting
What mat width should I choose for large artworks?
For artwork larger than 16x20 inches, use mats that are at least 4-6 inches wide. Statement pieces (30x40 inches and above) often benefit from 6-8 inch mats or floating frame presentation. The larger the artwork, the more breathing space it needs to prevent a cramped appearance.
How do I choose mats for humid climates?
In humid environments, always choose museum-quality cotton rag mats over wood-pulp alternatives. Add silica gel packets behind frames, ensure proper sealing with acid-free tape, and check artwork quarterly for signs of moisture damage. Consider using wider mats to increase air circulation around the artwork.
Should the bottom mat border be larger?
Yes, professional framers typically make the bottom border about ¼ inch larger than the other three sides. This prevents the optical illusion that causes artwork to appear to be sliding down within the frame. This technique is called "weighting" the mat.
Can I use colored mats with any artwork?
While colored mats can be dramatic, use them sparingly. They work best with vintage prints, botanical illustrations, or as accent pieces in a larger collection. For valuable artwork or pieces you want to last, neutral tones (white, cream, light gray) are safer choices that won't become dated.
What's the difference between beveled and straight-cut mats?
Beveled mats have edges cut at a 45-degree angle, creating a sloped interior edge that prevents shadows and provides a professional appearance. Straight-cut mats have vertical edges and are generally used for more casual or contemporary presentations. Beveled cuts are the professional standard.
How often should I replace matting?
Museum-quality cotton mats can last 100+ years when properly cared for. Acid-free mats typically last 15-25 years, while regular mat board should be replaced every 2-5 years. Signs of deterioration include yellowing, brown spots, or warping.
Should I double-mat my artwork?
Double matting (using two mats with slightly different window sizes) adds depth and sophistication to presentation. It's particularly effective with valuable artwork, larger pieces, or when you want to introduce a subtle color accent. The top mat typically has a slightly larger window, revealing about ¼ inch of the bottom mat.
Top 5 Takeaways for Perfect Matting
- Invest in quality materials: Museum cotton mats for valuable pieces, acid-free minimum for everything else
- Size matters: Larger artwork needs proportionally wider mats for proper visual balance
- Climate considerations: Coastal and humid environments require special materials and sealing techniques
- Color wisdom: Neutral tones provide lasting appeal; use colored mats as selective accents
- Know your limits: DIY for practice and standard pieces, professional help for valuable artwork
Conclusion: Elevating Your Art Collection
Mastering the art of matting is about more than just making your artwork look good—it's about preservation, presentation, and creating spaces that truly reflect your personal style. Whether you're protecting a family heirloom, showcasing a recent acquisition, or simply wanting to elevate the art in your home, the principles we've covered will serve you well.
Remember that great matting, like great design, often goes unnoticed because it feels so right. When done correctly, the mat becomes an invisible enhancer that allows your artwork to shine while providing the protection it needs for generations to come.
Ready to Transform Your Collection? Explore our curated selection of artwork that showcases the beauty of proper matting and professional presentation:
- Vintage Japanese Prints - Perfect for practicing traditional matting techniques
- Contemporary Art Collection - Ideal for experimenting with wide matting
- Audubon Bird Prints - Museum-quality pieces worthy of conservation framing
Start with one piece, apply these principles, and watch as proper matting transforms not just your artwork, but your entire space. Your walls—and your artwork—will thank you.

Nikki Sandeman
Founder, Art Lover & Décor Specialist
15+ years renovating homes and styling living spaces with unique wall art and custom prints. Specializing in helping readers integrate art and décor into modern interiors. Learn more →